
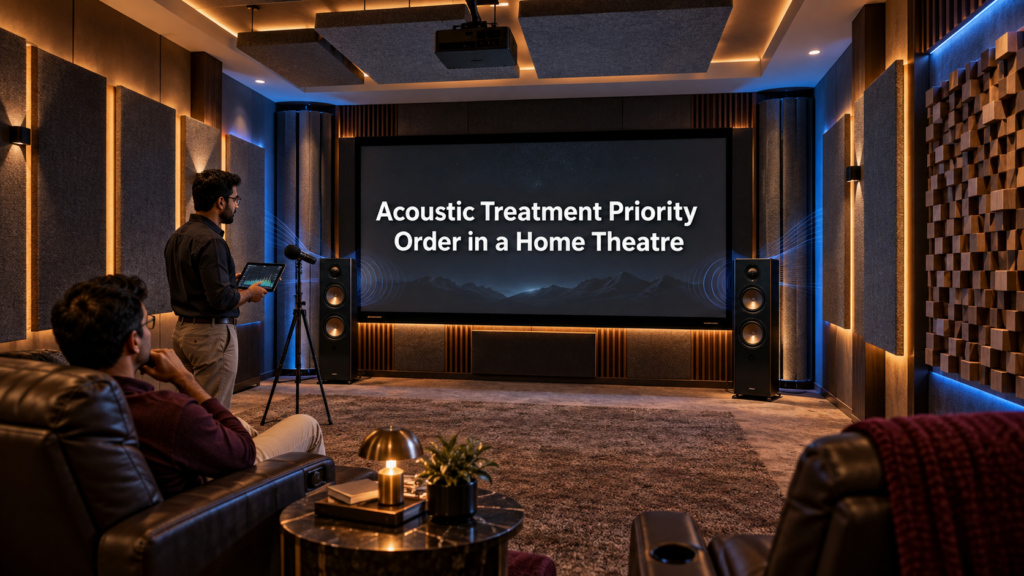
Most people who set out to improve their home theatre’s acoustics end up buying the wrong things first, foam panels scattered randomly across walls, or an expensive receiver upgrade, when the room itself was the actual problem the whole time. Acoustic treatment genuinely works, but only when it’s applied in the right order, to the right locations, with the right materials. Here’s what actually moves the needle, ranked by real impact, not by what’s easiest to sell.
The Priority Order That Actually Works
Acoustic professionals and serious hobbyists largely agree on this sequence, and it’s worth following in order rather than randomly:
1. Speaker and Seating Placement (Free)
Before spending anything, correct speaker and seating placement alone shifts how room modes (the resonant frequencies your space naturally amplifies or cancels) affect your listening position. Pulling speakers slightly off the front wall and positioning your main seat away from exact room-boundary distances can measurably improve bass evenness without a single panel installed.
2. First-Reflection Point Absorption
This is the highest-impact paid intervention. First reflections, the points on your side walls, ceiling, and sometimes floor where sound bounces directly back at your ears before the rest of the room’s decay arrives, blur dialogue clarity and imaging more than almost anything else. Find them using the “mirror trick”: have someone slide a mirror along the wall while you sit in your seat; wherever you can see the speaker reflected in the mirror is a first-reflection point worth treating.
3. Bass Traps in the Corners
Low frequencies build up disproportionately in room corners regardless of room size, creating the boomy, uneven bass that makes a subwoofer sound different depending on where you sit. Corner bass trapping addresses this directly and is genuinely non-optional if bass evenness matters to you, no amount of subwoofer calibration fully substitutes for it.
4. Diffusion on the Rear Wall
Once reflections and bass are under control, diffusion, scattering rather than absorbing sound, on the rear wall keeps the room sounding open and spacious rather than overly damped. This is a refinement step, not a starting point, diffusion before the first three steps are handled doesn’t address the problems that actually hurt clarity most.
Myths That Waste Money
Myth: More Panels Always Means Better Sound
Over-treating a room makes it sound unnaturally dead and lifeless. The generally accepted target is roughly 20-30% of wall surface area, focused at the specific points identified above, not blanket coverage. A room with too much absorption loses the natural liveliness that makes music and dialogue sound real.
Myth: Thin Acoustic Foam Solves the Problem
Thin, 1-inch foam tiles absorb high frequencies reasonably well but do almost nothing for the low-mid and bass frequencies that cause the most audible problems in a typical room. Effective treatment needs genuine thickness, 2 to 4-inch broadband panels at reflection points, 4 to 6-inch dense material for bass traps. If a product looks too thin to meaningfully block low frequencies, it probably is.
Myth: Digital Room Correction Replaces Physical Treatment
AV receiver room correction (Audyssey, Dirac, and similar) is a genuinely useful calibration tool, but it corrects frequency response at your microphone’s measurement point, it can’t fix comb filtering, flutter echo, or the physical decay problems that cause blurred dialogue and imaging. Treat the room physically first; use digital correction to fine-tune what’s left afterward, not as a substitute.
Myth: Soundproofing and Acoustic Treatment Are the Same Thing
This mix-up leads directly to buying the wrong solution. Acoustic treatment improves how your room sounds internally. Soundproofing stops sound from travelling to other rooms. Panels and bass traps do the first; mass-loaded vinyl and sealed gaps do the second, and no amount of acoustic panelling will stop your neighbours from hearing your subwoofer.
If Your Budget Is Limited, Do This First
If you can only address one thing, treat your first-reflection points. It’s the single highest-impact, most affordable intervention on this list, a handful of panels at the correct locations, identified with the mirror trick, delivers a more noticeable improvement in dialogue clarity than almost any other single change you could make to a room. Add corner bass traps next as budget allows.
How This Applies to Your Specific Room
The priority order above is universal, but exact panel count, thickness, and placement depend on your room’s dimensions and existing furnishings. If you’re in an apartment specifically, our guide to acoustic treatment for apartments covers renter-friendly, non-permanent options for applying these same principles. For a full room-by-room example including acoustic treatment as part of a complete build, see our Best Home Theatre Setup for a 10×12 Room guide. For a professional assessment of your specific space, see our acoustic treatment services page.
Frequently Asked Questions
What’s the single most important acoustic treatment to install first?
First-reflection point absorption on your side walls, identified using the mirror trick. It delivers the biggest noticeable improvement in dialogue clarity for the lowest cost of any single intervention.
Do I need bass traps if I already have first-reflection panels?
Yes, they address different problems. First-reflection panels improve clarity and imaging; bass traps fix uneven, boomy low-frequency response that panels alone don’t touch.
Can room correction software replace physical acoustic treatment?
No. Digital room correction adjusts frequency response but can’t fix the physical reflection and decay problems that cause blurred dialogue and inconsistent bass. Treat the room first, then use room correction to fine-tune.
How much wall coverage do I actually need?
Roughly 20-30% of wall surface area, concentrated at first-reflection points and corners, is the generally accepted target. More than this risks making the room sound unnaturally dead.